Spooky Pumpkin!

Hey friends! Today I am sharing the first layout I have created using the 20 days of Halloween cut files by Paige Evans. You can purchase them HERE. I have used the gorgeous Pumpkin cut file and teamed it with the Bungalow Lane collection, also designed by Paige.

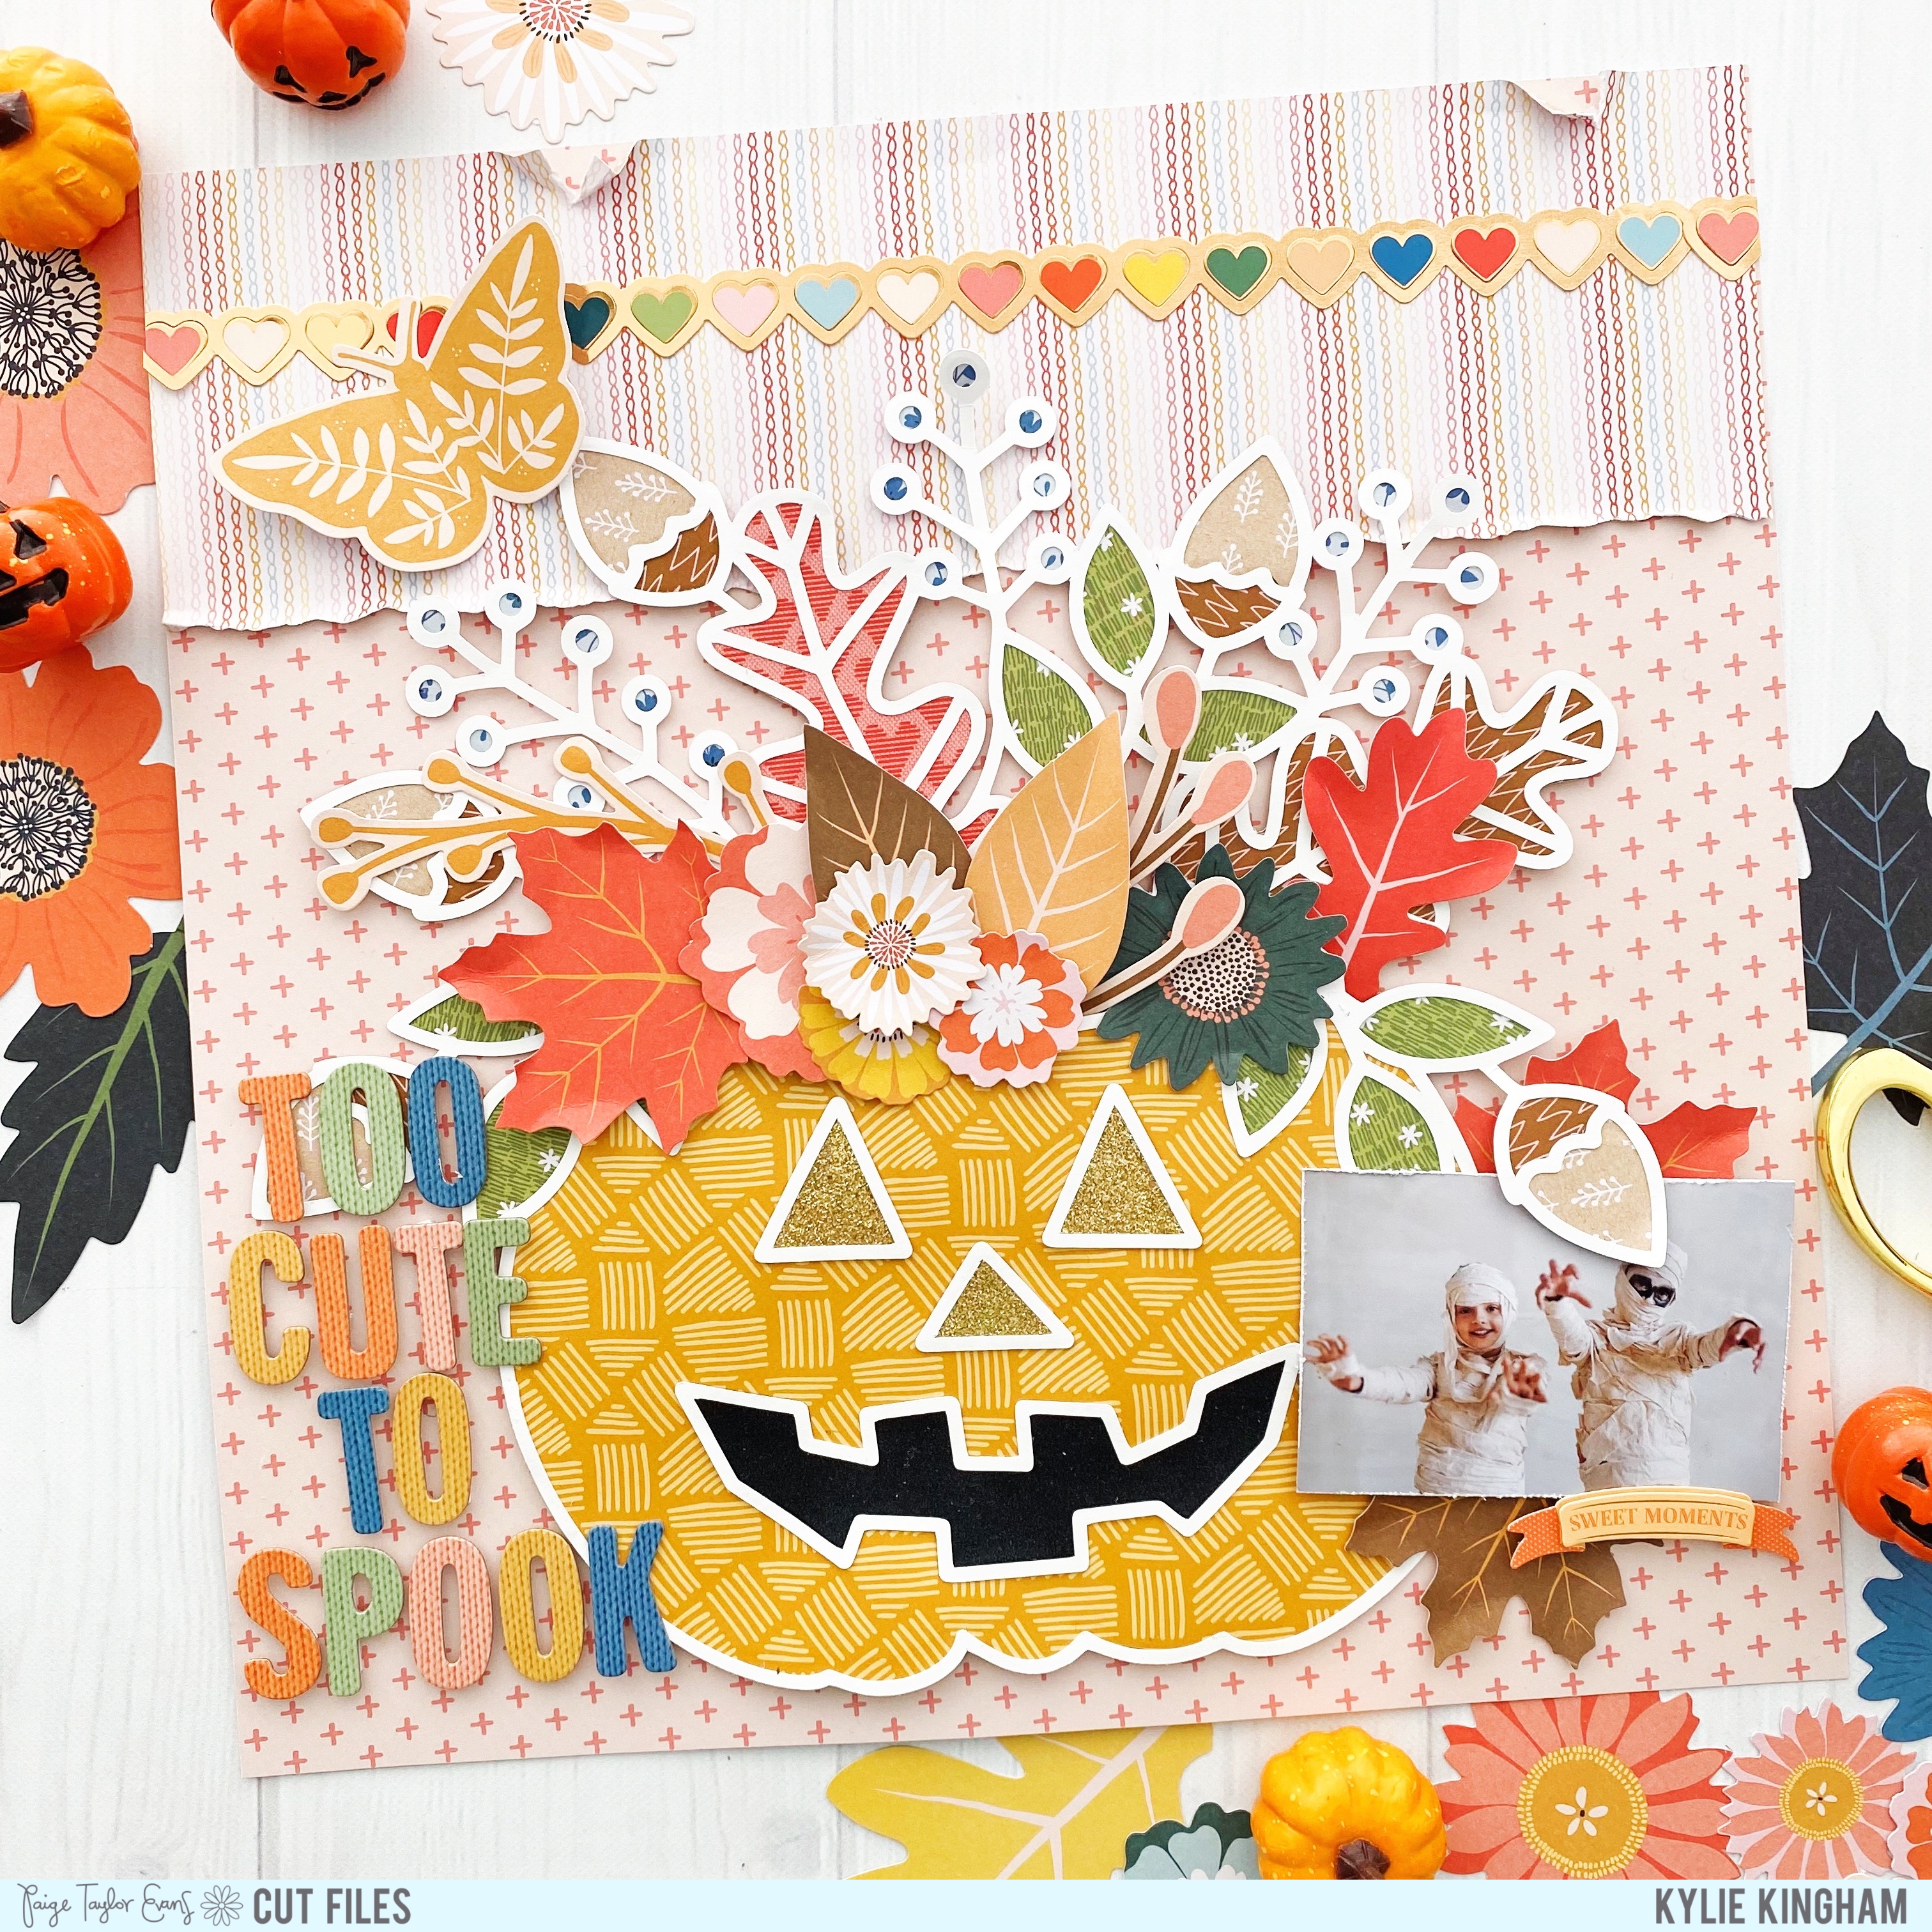
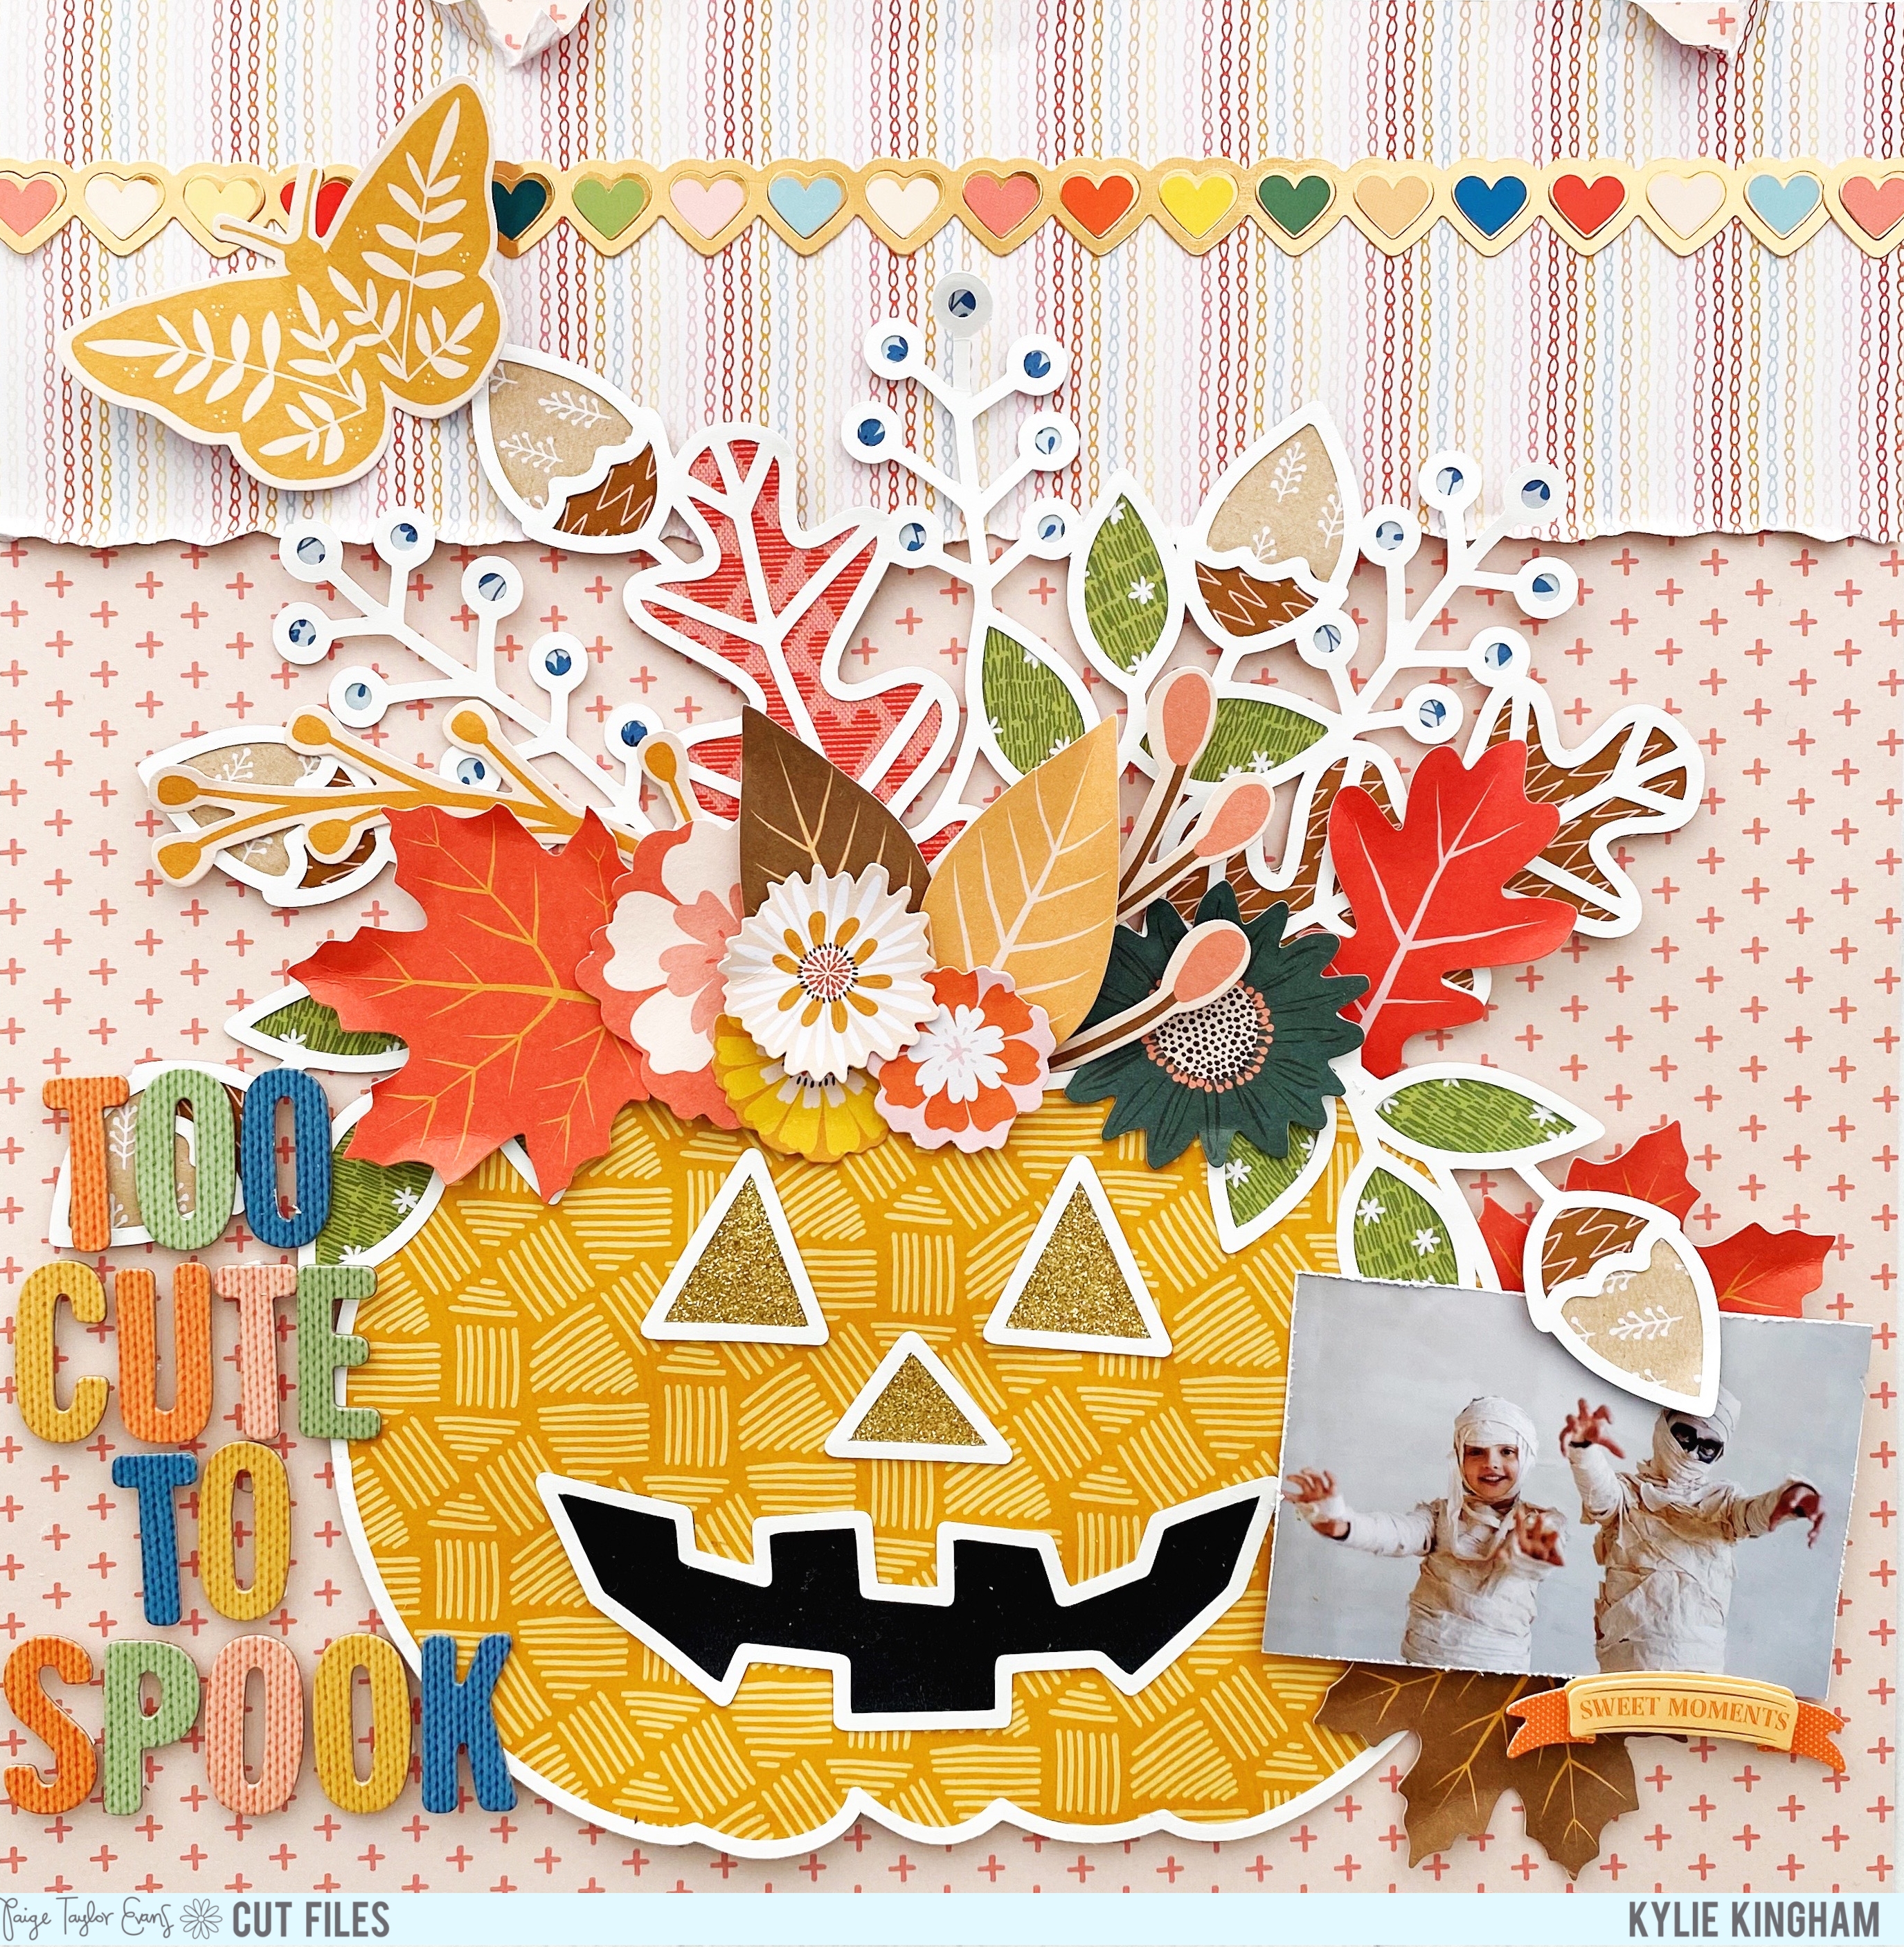
Yep…. I really filled the page with this one! I absolutely love it! I’ve used some gold and black glitter cardstock to back the facial features. Once I had finished backing the rest of the Pumpkin with Bungalow Lane papers, it was adhered to my background with foam adhesive squares. This just gives an added nice dimension to the completed page.

Some floral die cuts were adhered around the top of the Pumpkin, this added a lot more colour and texture as well.

My photo was printed to a 3 x 4 inch size and I distressed the edges a little before adhering into place. All that was left to do was add a jumbo title with the gorgeous Bungalow Lane alpha stickers. I really love the end result of this page and the colour combinations. Don’t forget to check out Paige’s cut files for yourselves! Until next time,

Kylie.

Family Together | Paige Evans Cut Files

Hello friends! I have a new layout to share with you today featuring the beautiful ‘Bungalow Lane’ collection by Paige Evans. I have teamed it with one of Paige’s exclusive FALL cut files from her ‘20 Days of Fall/Autumn’ cut files bundle. I’m using the Fall Borders for my layout and I wanted them to be a feature in my page design as a background element.

Once I had cut and backed each border I adhered them to my background page. I made sure they did not line up evenly in their placement to allow a more ‘free’ flow in design. Each were adhered with foam adhesive squares so that they sat up from the background, adding extra dimension to my page. A variety of papers were used to back each border so that it added lots of colour. Using the alpha stickers from the ‘Bungalow Lane’ collection, I created an embellishment cluster to the top right corner of my page, tucking in some of the floral die cuts.

My photos were printed to a 3″x 4″ size and backed with some white tissue paper. Once in place I added more of the floral die cuts as well as some stickers too. I folded the edges of the leaves a little to create dimension .

Thanks so much for stopping by today. I hope you have enjoyed seeing my latest layout. Until next time,

Kylie.